Introduction to Candle Making
Welcome to the wonderful world of candle making! Crafting your own handmade candles is not only a fun and creative hobby, but it also allows you to customize scents, colors, and shapes to perfectly match your space and mood. Whether you’re looking to create a cozy ambiance, a thoughtful gift, or simply to try something new, candle making can be an enjoyable and rewarding experience.
Materials Needed
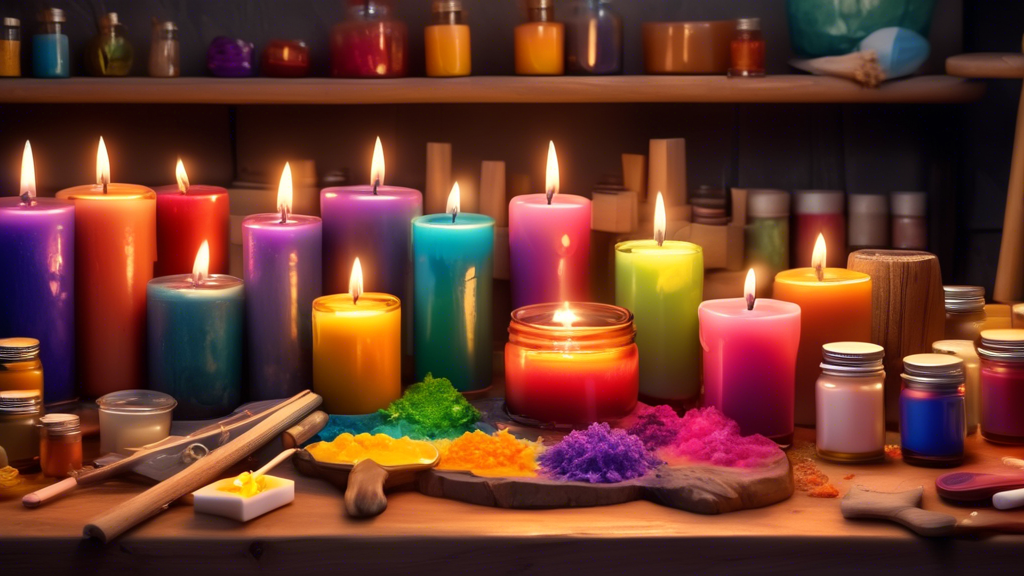
Before you begin, you’ll need to gather a few essential supplies. Here’s a basic list to start your candle-making journey:
- Wax: The most common types are soy wax, beeswax, and paraffin. Each has different characteristics and burning times, so choose based on your preference.
- Wicks: The size and type of wick will depend on the wax type and candle diameter. Pre-waxed wicks are easiest for beginners.
- Containers or molds: You can use anything from dedicated candle molds to old mugs or jars. Make sure they are heat-safe.
- Fragrance oils: Choose from a variety of scents depending on the mood you want to create. Be sure they are safe for use in candles.
- Dye chips or blocks: These are optional but can be used to add color to your candles.
- Double boiler: For melting wax safely. A makeshift one can work if you don’t have an actual double boiler.
- Thermometer: To check the temperature of the melting wax, ensuring it is neither too hot nor too cold for adding fragrance and pouring.
- Stirring utensil: A wooden spoon or silicone spatula can be used to stir wax and blend in color and fragrance evenly.
Steps to Making Your First Candle
Step 1: Prepare Your Work Area
Begin by covering your work area with newspaper or a large sheet of butcher paper to catch any drips or spills. Have all your materials within easy reach to streamline the process.
Step 2: Melting the Wax
Fill the bottom pot of your double boiler with water and place it on the stove to heat. Place your wax in the top pot and allow it to slowly melt, stirring occasionally. Monitoring the temperature with your thermometer is crucial to prevent the wax from getting too hot.
Step 3: Adding Fragrance and Color
Once your wax is melted, remove it from the heat. Let it cool slightly before adding your fragrance oil and color. If you add these too early, they can evaporate or not mix properly.
Step 4: Preparing the Wick
While the wax cools, prepare your container. Place the wick in the center of the container. You may need to secure it at the bottom with a bit of melted wax or a wick sticker and keep it stable by tying the top end to a pencil or skewer laid across the top of the container.
Step 5: Pouring the Wax
Check the temperature of your wax – it should be about 120 to 140 degrees Fahrenheit for pouring. Carefully pour the wax into your container, avoiding splashes. Leave some space at the top.
Step 6: Setting the Candle
Allow your candle to set undisturbed in a warm area free from drafts. This can take several hours or overnight. Once the wax is completely solid, clip the wick to about a quarter-inch above the wax surface.
Tips for Perfecting Your Craft
As with any art, practice makes perfect. Here are a few tips to help you enhance your candle making:
- Be patient: It might take a few tries to perfect your technique, especially when it comes to achieving the right fragrance and color mix.
- Experiment: Don’t be afraid to try different wax types, scents, colors, and shapes. Candle-making is a wonderfully customizable hobby.
- Keep notes: Record what works and what doesn’t, including measurements and temperatures, to refine each batch.
Have you thought of this?
Making your own candles is a delightful way to express creativity, relieve stress, and even cut down on waste by upcycling containers. By following these simple steps and tips, you’ll be on your way to making beautiful, customized candles that light up any room both literally and figuratively. So why wait? Dive into the world of candle making today and let your light shine!